Thursday, October 23, 2008

Perennial Onions, and Tulips

I've been collecting perennial onions for a while. I have Tree Onions (not strictly perennial, but fun), Potato Onions, definitely not perennial, but still fun, and Dutch Onions. These are perennial and semi-useless, but I still grow them.

So I was glad to pick this one up:

Onions1 Onions2

I've googled it a bit, it seems to be a Scallion - which I haven't grown before. So I am looking forward to it.

While I am at it - I am enjoying my Tulips:

Tulips

Wednesday, October 22, 2008

Abandon the Mulch

Mulch1

I have always used pea straw as a mulch, with just a few peas coming up. That wasn't a problem. This year, after I run out of my donated straw, I bought a bale of pea mulch. And up came the peas. There were hundreds.

In despair, I have pulled that mulch off, watered again to try and germinate remaining seeds so I can dig them in before planting, and gone searching for straw.

Mulch2

We found wheat straw at two different farm/animal supplies places. The bale on the left was $14.50, the one on the right $12.50. And they weighed exactly the same, despite the size. The smaller one was just so much denser.

So I reckon I am changing to that in the future - cheaper, and no seeds. And I think it handles better, too.

Saturday, October 18, 2008

Okay - next try

Pots5

Okay - here is the latest try from the seedling area. Have wrapped three of the six toilet roll "pots" in cling wrap, to see if that slows down the drying out. The other three are "control".

On a brighter note, I have been looking for this for a while:

Mignonette

My Mum loves it. This is obviously old stock (sow by Nov 2009), but what the heck, if I can get it going and save the seed. It obviously isn't being put out by the main seed companies any more - probably wasn't selling. And the specialist firms tend to go more for veggies than the old flowers. Except I notice Cornucopia Seeds do carry it. Must have a better look at their range.

Friday, October 17, 2008

Starting a Blog

Over at aus.gardens (a usenet group), I was asked for a quick tutorial on starting a blog. But my news reader is playing up, and although I can read incoming messages, I cannot post any at the minute.

So I thought I would post it here, in the hope it gets found. And it may be of use to any other gardener reading this who wants to start off.

Firstly, you need somewhere on the web to load your photos.

I use http://www.flickr.com/ They have a free account that will allow up to 200 photographs, with monthly upload limits for the free accounts. Once you reach 200 the old ones drop off, but they still show up in your blog.

People also on Flickr can choose to be shown your photos whenever you upload, and don't necessarily have to read your blog. There is a strong community of people who do that on Flickr, and some interesting groups. eg

http://www.flickr.com/groups/compost/

(I think you can see that without an account)

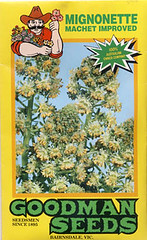
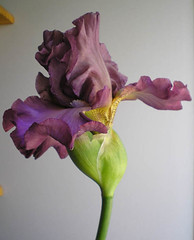
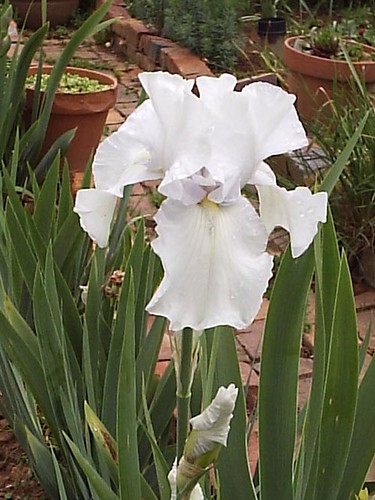
Flickr gives you your photographs in a number of sizes, ready to load on your blog:

Iris27

or

Iris27

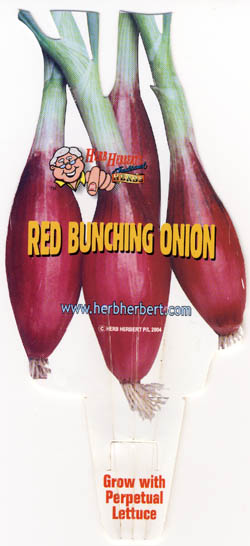
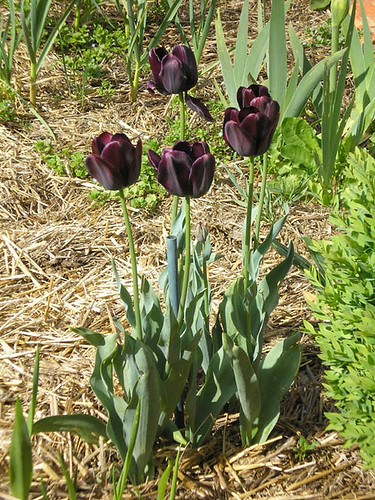
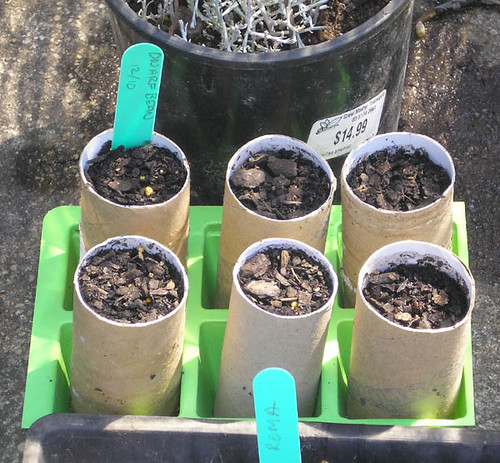
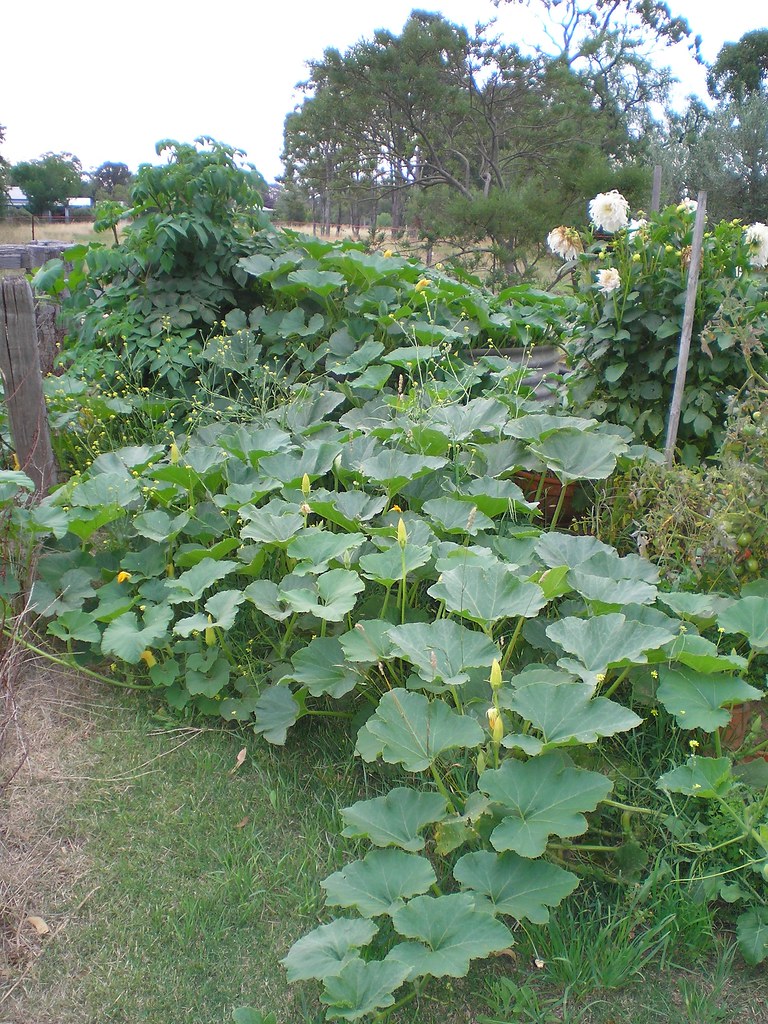
(Any excuse to show off one of my irises)

You can also link to photos in a larger size, if they are too large to show on the blog.

You then need a blog provider. I use

http://www.blogger.com/

These come up with "blogspot" in the address.

It is free. You sign up and go through the steps of creating a basic blog. You pick up a html code from Flickr for your photos, and paste them into the blog posts. The photo then shows up in your posts.

The final trick is to read a lot of other people's blogs, to get an idea what it is about. The way I do it is by using a blog aggregator, where I just check in once a day and see who has updated their blog. I use:

http://www.bloglines.com/

There is a fair bit more tweaking to it than that, but I am happy to mentor anyone offlist. So feel free to contact me and I will talk you through it. Or anyone else that is interested.

My email is kapana[at]netspace.net.au

And, once again, if you want a few blogs to look at, to practice subscribing to bloglines, pop over to my sidebar, to the left, and have a look at some that I read.

Thursday, October 16, 2008

Seedling Update

Pots4

Here is today's view inside the seed raising area (a small cold frame from Aldi)

There is a bigger copy HERE.

The toilet rolls (bottom left) have not started to unravel yet, but are drying out quicker than the plastic pots.

The peat trays (in groups of eight) are also drying out quicker than the plastic pots.

The Corn Starch pots (green, in two groups, both with tomatoes) have not yet started to break down. Some are being used second time around. The theory is we throw them in the compost bin when finished, and they will break down. Seems a bit like encouraging us to be part of the throwaway society, to me. Next try is going to be cut down milk cartons.

Only other observation at the minute is that we have been buying seeds of a particular brand in the cheap shops. The germination in them is definitely not as good as ones such as Goodmans etc. Guess it is a case of you get what you pay for.

Two more nice blogs

Scarecrow's Garden is an interesting edible garden in northern South Australia. There are all sorts of interesting things being grown in a dry environment.

Garden Amateur is in Sydney, and just starting out. It looks like a good start.

I'll put these two on my side bar as soon as I get a chance.

Tuesday, October 14, 2008

New Book

Book1

I have just bitten the bullet, and bought my own copy of The Seed Savers' Handbook. I collect veggie books a bit, but didn't have this one - it is exclusively for things that are edible - so it won't help you with natives. The illustrations are things of beauty in black and white.

We primarily needed it as this year we are growing two new tomatoes - "Amish Paste" and "Earliest of All", and I needed to know how far apart to plant them in case I wanted to save the seeds and be sure they weren't cross pollinated. It turns out we are fine - put them in different beds, and take from the middle of the group. Plus a few directions on fermenting the seed.

It is available from The Seed Savers Network - and I like it.

Good season for Irises

Iris12

This is shaping up to be a good season for irises. I have about thirty different ones, but cannot find my plan of what is what. Drat.

I have two large clumps of this white iris, and it appears to be one of the most vigourous - certainly one of the earliest. It is the only one surviving in some of my dry shady areas.

So one big clump is going to have to go, as it is taking up good veggie ground in the kitchen garden. Sometimes I put a pile out on the nature strip, and a notice up in the post office, and people come and take them away. Other times I compost them - not sure what I will do this time. They do compost easily.

Last year was a poor season for irises, and a good season for daffodils - this year it seems to be the reverse.

PA100019

The Smoke Tree bed out the front is looking good, if a little bare. But that comes with the territory when you declare orange sparaxis (a sort of bulb) to be feral, and try and pull them out a bit early. With luck it might decrease their vigour a bit, and I will pull them out as they come up neat year.

There is a bigger pic of this bed HERE.

Sunday, October 12, 2008

I want this Potting Bench

I really feel the need for a better potting bench.

In fact, I seriously want THIS ONE.

Guess I better settle for just cleaning up the shed.

Compost Tanks

My compost tanks are looking good.

Tank2

This one is currently being filled. I am trying drainage pipes for the first time, inserted as far as the bottom, with a tomato stake for support. This is supposed to be for aeration, but I use it for getting water to all levels. Then I sloly pull them a bit up the stick, and the water gets delivered about two thirds down.

The cans are there to stop me filling the pipes as I fill the tank. And make a good spot to collect the snails from.

This one has a good layer of mown weeds on top.

Tank4

This tank is full, with a layer on top of shredded garden prunnings. It was too late to put full tubes in, when I decided to use them, so I just have short ones in there to help water the pumpkins. Although they did all right last year without them.

Pumpkin total last year was 28 Queensland Blues. This year it is a combo of four different types of pumpkin, plus three Butternuts in the garden (my friends wanted something easier to peel). I must be mad - although one place where I work takes all the pumpkins I can spare.

Tank3

This is the spud tank. There are three short watering pipes in there too, but you can't see them any more. Plus a bit of mint. I should have let it die and mown it.

And that is about it for my compost. The slotted drainage pipe, that lets me water all through it is good. And I run a three-tray worm farm where I keep emptying fresh worms into the tank I am currently filling.

The local Lions are selling sheep manure again, so I might throw a bit of that in - plus some of that horse manure I pick up by the highway. As things are coming under control this year, and I might not have enough weeds.

Saturday, October 11, 2008

Looking for Garden Blogs???

I have just found a wonderful list of Australian Garden blogs.

There is one there from a friend of mine that is a sad warning though - she had deleted her blog, so spammers claimed it. I can't read what is on there - I think it is in Hebrew.

But apart from that, it is a really good list of blogs.

I'm off to make another cup of coffee - you may never see me again!

Found another garden blog

Lilyflax from Organic Edible Gardening popped over to say hello. She gardens at home and in the edible garden at Geelong Botanic Gardens (in Victoria, same as me).

Worth popping over for a look.

The New Biodegradble Pot

By George, I think I've got it! The new biodegradable pot for things with deep roots. ie the Cucumbers and sweet corn. Plus anything else that comes along.

Pots1

Step 1

Cut section from egg container, and put four cuts from top towards bottom. This lets them overlap a little to fit.

Pots2

Step 2

Insert bit of egg container in toilet roll centre.

We have a pot.

These can be inserted in small, tall square pots for support and ease of handling.

Might have been an idea to wash them first. Hmmmm.

My main worry is that there are a lot of lovely dark, hidey holes in there for slugs. We have had a few of them in the seedlings lately.

I'm off to plant some up to try.

LATE EDITS

I'm told another method is to just scrunch up some newspaper and push that up the bottom of the toilet roll tube.

There is a tutorial on how to make folded pots HERE. Except she admits at the end they are too thick to break down quickly.

AND YET LATER AGAIN

The final decision on how to use them:

Pots3

This should make them a bit less attractive to the slugs

Saturday, October 04, 2008

An Alternative to Chemicals

GOTG

We would like to be able to give up chemicals - so we are experimenting with alternatives.

This is Gary, the Guardian of the Garden.

He is new, and as it is time to start planting out the veggies seedlings, and he promised us that he adores snails, we thought we would give him a try.

We are getting serious about the Veggie Gardens this year - in both gardens where I am splitting my time. Right now it is the brinksmanship about - is is safe to put the tomatoes in yet??? The first ones (commercial) went in this weekend, but we have all sorts of little seedlings poking their heads up, and we are watching them carefully.